Tips to Keep Your Robot Vacuum Longer
The emergence of robot vacuum has changed our lives. We don’t need to sweep and mop the floor by ourselves, and some users even remove their dust bins from home as their robot vacuums will clean everything up. However, if we don’t arrange regular checking and maintenance, the robot vacuum may stop or have worse performance. Thus, in this article, we will demonstrate some tips to keep your robot vacuum longer.
4 Methods to Apply Maintenance for Your Robot Vacuum
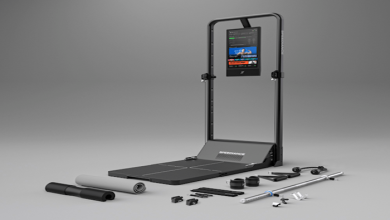
Like other devices, your robot vacuum, even if it is the best self emptying robot vacuum, needs to be checked regularly to avoid potential malfunctions or breakdowns. Accordingly, the 4 parts of your robot vacuum should be maintained carefully.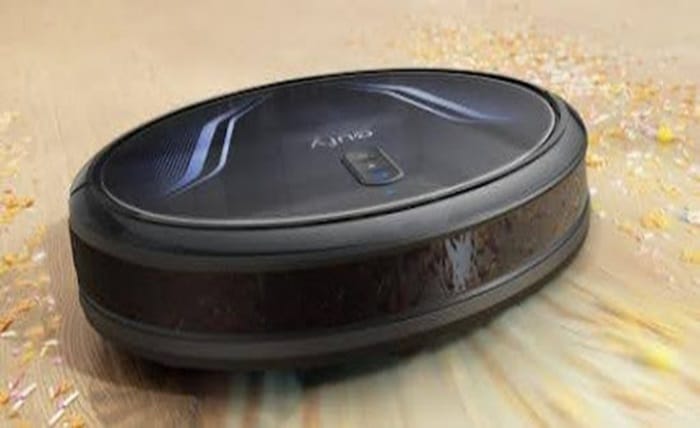
Replaces Consumables
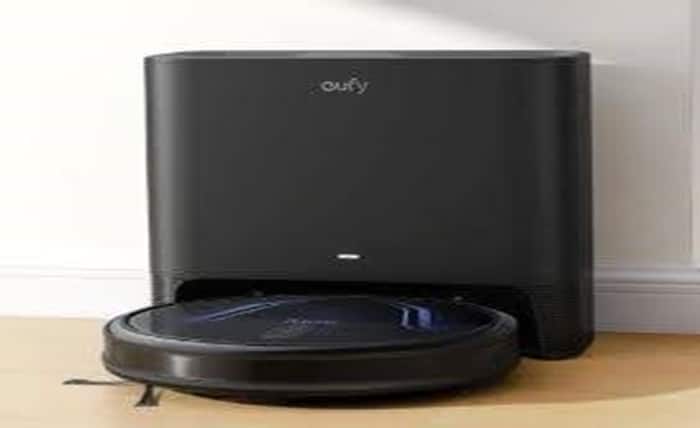
dust box filter, main brush, side brush, mop, and water tank cartridge are the consumables that should generally be replaced carefully. I think we all know how to replace these consumables; if not, please refer back to the instruction manual or the official instructional video. The official app will also include an approximate usage duration and maintenance recommendations for these consumables that need to be cleaned, maintained, and replaced.
Clean the Robot Vacuum
The cleaning of the main brush, side brush, mop, dust box, and dust box filter (please follow the instructions as some filters cannot be washed) should be done weekly. Remember, it is essential to let it dry completely before using it after washing. Regarding body cleaning, it is advised to turn off the machine first and then use a damp cloth to remove some particularly stubborn stains. Furthermore, it is better to use a dry cloth (a clean, soft, fluffy cloth) to wipe the sensor portion of the line. If stains are particularly tough, you can also use wet paper towels or alcohol-stained cotton pads.
Check and Clean the Wheels
It is easier to clean because the universal wheel can be removed straight away. Also, we can slowly turn the wheels in the opposite direction while manually trying to pull any hair or thread that may be entwined around the back left and right power wheels. Please take note that pulling the line with excessive force will only cause it to become more stuck or broken inside. Besides, the main brush and power wheel should typically pay more attention to cleaning up if there is more hair at home. This will help prevent massive hair winding, which can be difficult to manage later.
Remove the Hair in Your Robot Brushes
To clean up the hair, we can unscrew the side brush. To restore the deformed side brush, simply immerse it in hot water between 60 and 70 degrees for approximately 10 seconds. We must take extra care to maintain the main brush because it is more prone to damage. The hairs on both sides of the main brush are more problematic, but the maintenance procedure is similar to that of the side brushes. By taking off the fixed head on one side, we can clean the hairs inside. In the meantime, if hair bundles are split, we should replace the brushes.
Conclusion
In conclusion, we should replace consumables for our robot vacuum after using it for a while. Besides, cleaning the robot parts, including the main brush, side brush, mop, dust box, and dust box filter, is also necessary. Make sure to wait for it to dry before switching the robot on. Furthermore, the wheels need to be checked and cleaned as well. Finally, the hair in the robot brushes should be taken care of.