
How to Make Your Own Dr. Seuss Hat
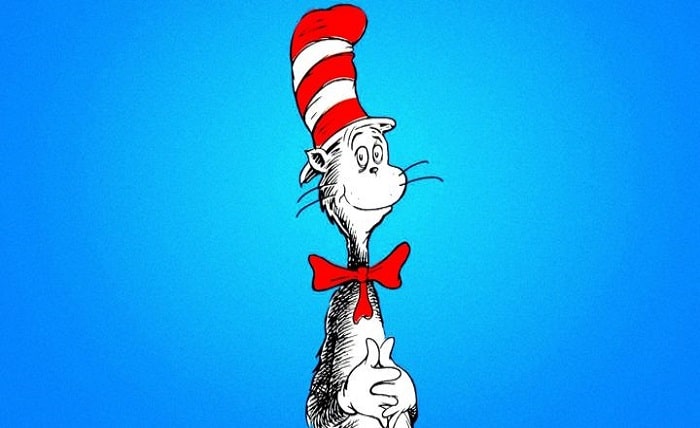
Dr. Seuss, the beloved author of children’s books such as The Cat in the Hat, Green Eggs and Ham, and How the Grinch Stole Christmas, is known for his whimsical and colorful illustrations. One of his most iconic creations is the red and white striped hat worn by the Cat in the Hat, which has become a symbol of creativity and fun. If you want to make your own Dr. Seuss hat for a costume party, a school project, or just for fun, here are some easy steps to follow.
What You Will Need
To make your own Dr. Seuss hat, you will need the following materials:
- A cardboard tube (such as a paper towel roll or a wrapping paper roll)
- Red and white felt or fabric
- Scissors
- Glue or tape
- A ruler
- A pencil
- A compass or a circular object (such as a plate or a lid)
Step 1: Cut the Cardboard Tube
The first step is to cut the cardboard tube to the desired height of your hat. You can use a ruler and a pencil to mark the length you want, and then use scissors to cut the tube. A typical Dr. Seuss hat is about 12 inches tall, but you can adjust it according to your preference.
Step 2: Cut the Felt or Fabric
The next step is to cut the red and white felt or fabric into strips that are wide enough to cover the cardboard tube. You can use a ruler and a pencil to measure and mark the width of the strips, and then use scissors to cut them. You will need about 10 strips of each color, depending on the height of your hat.
Step 3: Glue or Tape the Strips
The third step is to glue or tape the red and white strips onto the cardboard tube, alternating the colors to create the striped pattern. You can start from the bottom of the tube and work your way up, making sure that each strip overlaps slightly with the previous one. You can use glue or tape to secure the ends of each strip to the tube.
Step 4: Cut the Brim
The fourth step is to cut the brim of your hat from another piece of cardboard. You can use a compass or a circular object to trace a circle on the cardboard that is slightly larger than the diameter of your tube. Then, you can use scissors to cut out the circle. Next, you can trace another circle on the cardboard that is slightly smaller than the diameter of your tube, and cut out the inner circle. This will create a ring-shaped brim for your hat.
Step 5: Attach the Brim
The final step is to attach the brim to your hat. You can use glue or tape to stick the bottom edge of your tube to the inner edge of your brim, making sure that they are aligned. You can also cover the brim with red and white felt or fabric if you want.
Conclusion
Congratulations! You have just made your own Dr. Seuss hat. You can wear it proudly and enjoy being as creative and fun as Dr. Seuss himself. You can also customize your hat by adding other decorations, such as pom-poms, feathers, or stickers. Have fun!