How to Adjust the Master Volume in Windows 10

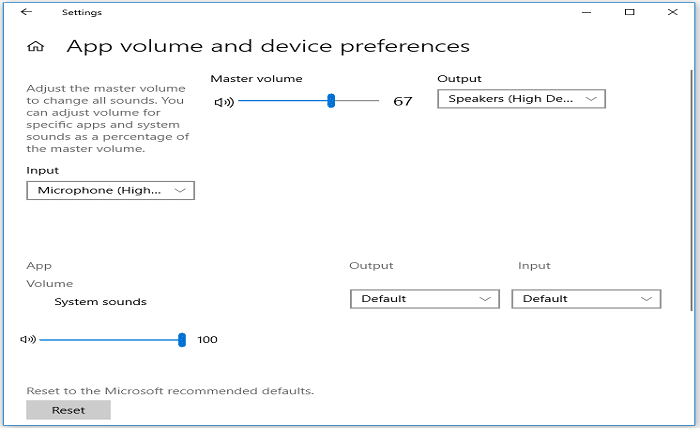
The master volume is the overall sound level that affects all the audio devices and applications on your Windows 10 PC. If you want to change the master volume, you can use different methods, such as the volume icon, the keyboard shortcuts, the Settings app, or the Control Panel. I will show you how to adjust the master volume in Windows 10 using these methods.
How to Adjust the Master Volume Using the Volume Icon
The easiest way to adjust the master volume in Windows 10 is to use the volume icon in the system tray at the right end of the taskbar. Here are the steps that you need to follow:
- Click on the volume icon to open a slider that shows the current master volume level.
- Drag the slider up or down to increase or decrease the master volume. You can also click on the speaker icon at the left of the slider to mute or unmute the master volume.
- Release the mouse button when you reach your desired master volume level.
How to Adjust the Master Volume Using Keyboard Shortcuts
Another way to adjust the master volume in Windows 10 is to use keyboard shortcuts. Here are some keyboard shortcuts that you can use:
- Press the Windows logo key + I to open the Settings app. Then click on System > Sound > Sound Control Panel. You will see a window that shows all your audio devices and applications. You can select your default device and click on Properties > Levels to adjust its master volume.
- Press Fn + F11 or F12 (depending on your keyboard model) to decrease or increase the master volume by 2%. You can also press Fn + F10 to mute or unmute the master volume.
- Press Ctrl + Shift + Esc to open the Task Manager. Then click on More details > Processes > Windows Explorer. Right-click on it and select Restart. This will refresh your system tray and show a new volume icon that you can use to adjust the master volume.
read more about How to Boost Your Browser’s Volume with Volume Master
How to Adjust the Master Volume Using the Settings App
Another way to adjust the master volume in Windows 10 is to use the Settings app. Here are the steps that you need to follow:
- Press the Windows logo key + I to open the Settings app.
- Click on System > Sound.
- Under Output, you will see a slider that shows your current master volume level. You can drag it up or down to increase or decrease the master volume. You can also click on Device properties > Additional device properties > Levels to access more options for adjusting your master volume.
- Under Input, you will see a slider that shows your current microphone level. You can drag it up or down to increase or decrease your microphone sensitivity. You can also click on Device properties > Additional device properties > Levels to access more options for adjusting your microphone level.
How to Adjust the Master Volume Using Control Panel
Another way to adjust the master volume in Windows 10 is to use Control Panel. Here are the steps that you need to follow:
- Press the Windows logo key + R to open a Run dialog box.
- Type control panel and press Enter.
- Click on Hardware and Sound > Sound.
- You will see a window that shows all your audio devices and applications. You can select your default device and click on Properties > Levels to adjust its master volume.
- You can also right-click on any device or application and select Open Volume Mixer to access more options for adjusting their individual volumes.
Conclusion
The master volume is the overall sound level that affects all the audio devices and applications on your Windows 10 PC. You can adjust it using different methods, such as:
- The volume icon in the system tray at the right end of the taskbar.
- The keyboard shortcuts, such as Windows logo key + I, Fn + F11 or F12, or Ctrl + Shift + Esc.
- The Settings app, by going to System > Sound.
- The Control Panel, by going to Hardware and Sound > Sound.


